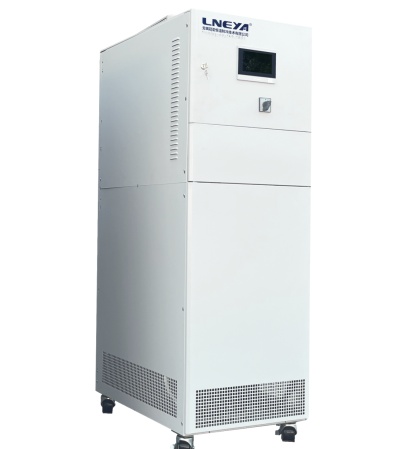
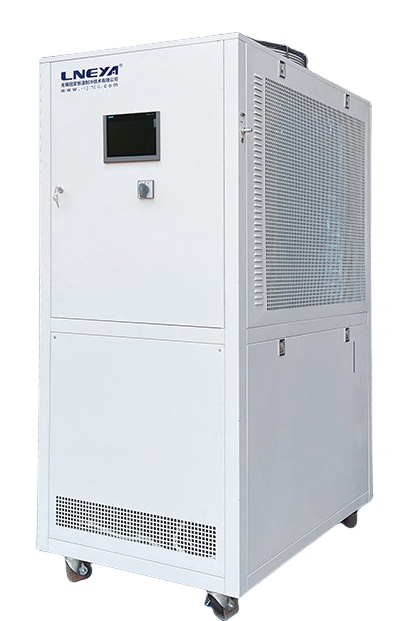
Pre – installation Preparations Site Assessment The first step in water chiller installation is to assess the installation site thoroughly. For industrial and commercial applications, consider factors such as the available space, structural integrity of the building or installation area, and proximity to the cooling load. The site should have sufficient space to accommodate the chiller unit, cooling tower (for water – cooled systems), and associated piping and electrical equipment. In addition, ensure that the floor or surface where the chiller will be placed can support its weight, especially for large industrial models.
For outdoor installations, the site should be protected from extreme weather conditions as much as possible. Avoid areas prone to flooding, strong winds, or direct sunlight exposure, as these can affect the chiller’s performance and lifespan. Adequate ventilation is also crucial, especially for air – cooled condensers of water chillers, to ensure proper heat dissipation. Equipment Inspection Before starting the installation, carefully inspect the water chiller and all its components. Check for any signs of damage during transportation, such as dents, scratches, or loose parts. Verify that all the necessary parts and accessories are included in the shipment, as per the manufacturer’s specifications. This includes components like the compressor, condenser, evaporator, expansion valve, pumps, and control panels. Inspect the refrigerant lines and connections to ensure they are not damaged or blocked. Check the electrical wiring and components for any signs of fraying or improper insulation. Any damaged or missing components should be reported to the manufacturer immediately for replacement to avoid issues during installation and operation. Documentation Review Thoroughly review all the installation manuals, technical documentation, and safety guidelines provided by the chiller manufacturer. Familiarize yourself with the specific installation requirements, electrical and plumbing specifications, and any special instructions for the particular model of the water chiller. This documentation will serve as a guide throughout the installation process and help ensure compliance with safety standards and industry best practices. Pay attention to any local building codes, electrical codes, and environmental regulations related to water chiller installation. These regulations may vary depending on the location and application, and non – compliance can result in fines or safety hazards. For example, some areas may have specific requirements for refrigerant handling and disposal, as well as electrical grounding and wiring standards. Installation Procedures Equipment Positioning Carefully position the water chiller unit at the designated location. For indoor installations, ensure that there is enough clearance around the chiller for maintenance access, typically at least 2 – 3 feet on all sides. The chiller should be placed on a level surface to prevent uneven stress on its components and ensure proper operation. Use shims or leveling devices if necessary to adjust the unit’s position. When installing a cooling tower for a water – cooled chiller, choose a location that allows for proper air circulation. The tower should be placed away from walls, obstructions, and sources of heat or contaminants. Ensure that the distance between the chiller and the cooling tower is within the recommended range specified by the manufacturer to minimize pressure losses in the water piping system. Piping Connection Install the water piping system to connect the chiller to the cooling tower (for water – cooled systems) or the points of use, such as air – handling units or process cooling equipment. Use pipes and fittings that are compatible with the chiller’s specifications and the type of coolant being used, typically water or a water – glycol mixture.
Ensure proper pipe sizing to accommodate the required flow rate of the coolant. Larger – diameter pipes reduce pressure drops and improve the efficiency of the cooling system. Use appropriate insulation materials on the pipes to prevent heat gain or loss, especially for chilled water pipes. This helps maintain the desired temperature of the coolant and reduces energy consumption. When connecting the pipes to the chiller, follow the manufacturer’s instructions regarding the direction of flow and the use of valves, strainers, and expansion joints. Install isolation valves at the inlet and outlet of the chiller to facilitate maintenance and repair work. Strainers should be installed to prevent debris from entering the chiller and damaging its components. Electrical Wiring Connect the electrical supply to the water chiller according to the electrical diagram provided by the manufacturer. Only qualified electricians should perform this task to ensure compliance with electrical codes and safety standards. Use appropriate electrical cables and conduits that can handle the chiller’s power requirements. Ensure proper grounding of the chiller to protect against electrical shocks and equipment damage. The grounding connection should be made in accordance with local electrical codes. Connect all the control wires, sensors, and safety devices correctly to enable the chiller’s automatic operation and monitoring functions. Before powering on the chiller, double – check all the electrical connections for tightness and proper insulation. Use a multimeter to test the electrical circuit for continuity and to ensure that there are no short circuits or open circuits. Refrigerant Charging If the water chiller is not pre – charged with refrigerant, this step is crucial. Refrigerant charging should be carried out by a licensed technician who is trained in handling refrigerants. First, evacuate the refrigerant system to remove any air, moisture, or non – condensable gases. This is typically done using a vacuum pump. Once the system is evacuated, charge it with the appropriate type and amount of refrigerant as specified by the manufacturer. Overcharging or undercharging the refrigerant can lead to poor cooling performance, increased energy consumption, and potential damage to the compressor and other components. Use accurate refrigerant scales and gauges to ensure the correct amount of refrigerant is added. After charging, perform leak tests on all the refrigerant connections using approved leak – detection methods, such as electronic leak detectors or soap – bubble tests. Repair any detected leaks immediately to prevent refrigerant loss and environmental impact. Post – installation Commissioning and Checks System Flushing and Filling After the installation is complete, flush the water piping system to remove any dirt, debris, or construction residues. Use clean water and, if necessary, appropriate cleaning agents to ensure the system is free of contaminants. Once flushed, fill the system with the required coolant, usually a water – glycol mixture for freeze protection in colder climates. Check the water level in the cooling tower (for water – cooled systems) and adjust it as needed. Ensure that the water treatment system, if installed, is functioning properly to maintain the quality of the coolant and prevent scale formation, corrosion, and biological growth.
Functional Testing Power on the water chiller and perform a series of functional tests. Check the operation of the compressor, fans, pumps, and other components. Monitor the pressure and temperature readings of the refrigerant and coolant systems to ensure they are within the normal operating range specified by the manufacturer. Test the chiller’s control system, including the thermostat, sensors, and safety devices. Verify that the chiller can start, stop, and adjust its cooling output automatically based on the set temperature and load requirements. Check for any abnormal noises, vibrations, or leaks during the operation. Performance Optimization Fine – tune the chiller’s settings to optimize its performance. This may include adjusting the temperature set points, fan speeds, and refrigerant flow rates. Monitor the chiller’s energy consumption and cooling capacity during the initial operation period and make adjustments as necessary to achieve the best balance between efficiency and performance. If possible, compare the chiller’s performance with the manufacturer’s performance data to ensure it is operating as expected. In case of any significant deviations, troubleshoot the system to identify and resolve the issues. This could involve checking the refrigerant charge, cleaning the condenser and evaporator coils, or adjusting the water flow rate. Regular Maintenance Planning Develop a regular maintenance schedule for the water chiller based on the manufacturer’s recommendations and the specific operating conditions. Regular maintenance tasks may include cleaning the condenser and evaporator coils, checking and replacing the refrigerant filters, lubricating the moving parts, and inspecting the electrical connections. Train the personnel responsible for operating and maintaining the chiller on the proper procedures and safety precautions. Ensure that they are familiar with the chiller’s control system, troubleshooting techniques, and emergency shutdown procedures. By implementing a proactive maintenance plan, you can extend the lifespan of the water chiller, improve its reliability, and reduce the risk of unexpected breakdowns. In conclusion, water chiller installation is a complex process that requires careful planning, attention to detail, and compliance with safety standards and manufacturer’s instructions. By following the proper pre – installation preparations, installation procedures, and post – installation commissioning and maintenance checks, you can ensure that the water chiller operates efficiently, reliably, and for an extended period, providing the necessary cooling for various applications. Whether for industrial, commercial, or residential use, a well – installed water chiller is the foundation for a successful and cost – effective cooling system.
Coefficient of Performance (COP) is a crucial metric for evaluating the efficiency of water - cooled chillers. This article provides a comprehensive exploration of water - cooled chiller COP. It begins by introducing the basic concepts of water - cooled chillers and the definition of COP, explaining how COP measures the cooling output relative to the energy input. The article then delves into the structure and working principles of water - cooled chillers, analyzing in detail the factors that influence COP, such as condenser performance, evaporator conditions, refrigerant type, and load characteristics. Real - world applications in commercial buildings, industrial processes, and data centers are presented, along with methods for optimizing COP to enhance energy efficiency. Additionally, future trends in improving the COP of water - cooled chillers are discussed, offering a complete understanding for engineers, facility managers, and energy enthusiasts.
Industrial circulation heaters are essential components in many industrial processes, playing a crucial role in maintaining the temperature of fluids flowing through a closed - loop system. They ensure the smooth operation of various industrial operations by providing consistent and reliable heating.
A heating water bath, also known as a water bath, is a laboratory device used to provide a constant temperature environment for various applications, including incubation, chemical reactions, and sample preparation. It operates by heating water to a desired temperature, which is then used to maintain the temperature of samples placed within it. These baths come in different types, such as shaking, circulating, and non-circulating, each with specific advantages and applications. The heating water bath is essential for precise temperature control in scientific experiments and industrial processes.
The price of chiller systems varies significantly based on factors such as capacity, technology, and whether they are air-cooled or water-cooled. On average, air-cooled chillers cost around $1500/ton for capacities below 50-tons, reducing to $700/ton for capacities below 150-tons, and $450/ton above that capacity. Water-cooled chillers are more economical, at approximately $400/ton below 400-tons and $300/ton beyond that. These estimates provide a general overview of the investment required for chiller systems, highlighting the importance of considering operational costs alongside initial costs.